Bearpi开发环境搭建及代码获取请参考以下链接
开发环境搭建
用VS code打开获取到的源码后,在sample目录下新建一个文件夹my_app,在my_app下新建hello_world.c和BUILD.gn两个文件

在hello_world.c中加入以下内容
#include <stdio.h>
#include <unistd.h>
#include "ohos_init.h"
#include "cmsis_os2.h"

void Hello_World(void)
{
    for(int i=0; i<1000; i++)  // 打印1000次,间隔1秒打印一次
    {
        printf("Hello World!\r\n"); // 打印Hello World!
        usleep(1000000); // 延时1秒
    }

}
APP_FEATURE_INIT(Hello_World);   // 注册初时化模块
- 在my_app下的BUILD.gn中加入以下内容
static_library("hello_world") {  //编译成静态库文件libhello_world.a
sources = [
"hello_world.c"       // 源文件名
]
include_dirs = [    //头文件路径

  "//utils/native/lite/include",
  "//kernel/liteos_m/components/cmsis/2.0",

]
}
- 在sample下的BUILD.gn中新增"my_app:hello_world",并将原来的"B2_basic_button:button_example"注释掉
import("//build/lite/config/component/lite_component.gni")

lite_component("app") {
    features = [
        #"A1_kernal_thread:thread_example",
        #"A2_kernel_timer:timer_example",
        #"A3_kernel_event:event_example",
        #"A4_kernel_mutex:mutex_example",
        #"A5_kernel_semaphore:semaphore_example",
        #"A6_kernel_message:message_example",

        #"B1_basic_led_blink:led_example",
        #"B2_basic_button:button_example",
        #"B3_basic_pwm_led:pwm_example",
        #"B4_basic_adc:adc_example",
        #"B5_basic_i2c_nfc:i2c_example",
        #"B6_basic_uart:uart_example",

        #"C1_e53_sf1_mq2:e53_sf1_example",
        #"C2_e53_ia1_temp_humi_pls:e53_ia1_example",
        #"C3_e53_sc1_pls:e53_sc1_example",
        #"C4_e53_sc2_axis:e53_sc2_example",
        #"C5_e53_is1_infrared:e53_is1_example",

        #"D1_iot_wifi_ap:wifi_ap",
        #"D2_iot_wifi_sta_connect:wifi_sta_connect",
        #"D3_iot_udp_client:udp_client",
        #"D4_iot_tcp_server:tcp_server",
        #"D5_iot_mqtt:iot_mqtt",
        #"D6_iot_cloud_oc:oc_mqtt",
        #"D7_iot_cloud_onenet:onenet_mqtt",
        #"D8_iot_cloud_oc_smoke:cloud_oc_smoke",
        #"D9_iot_cloud_oc_light:cloud_oc_light",
        #"D10_iot_cloud_oc_manhole_cover:cloud_oc_manhole_cover",
        #"D11_iot_cloud_oc_infrared:cloud_oc_infrared",
        #"D12_iot_cloud_oc_agriculture:cloud_oc_agriculture",
        #"D13_iot_cloud_oc_gps:cloud_oc_gps",

        "my_app:hello_world",

    ]
}
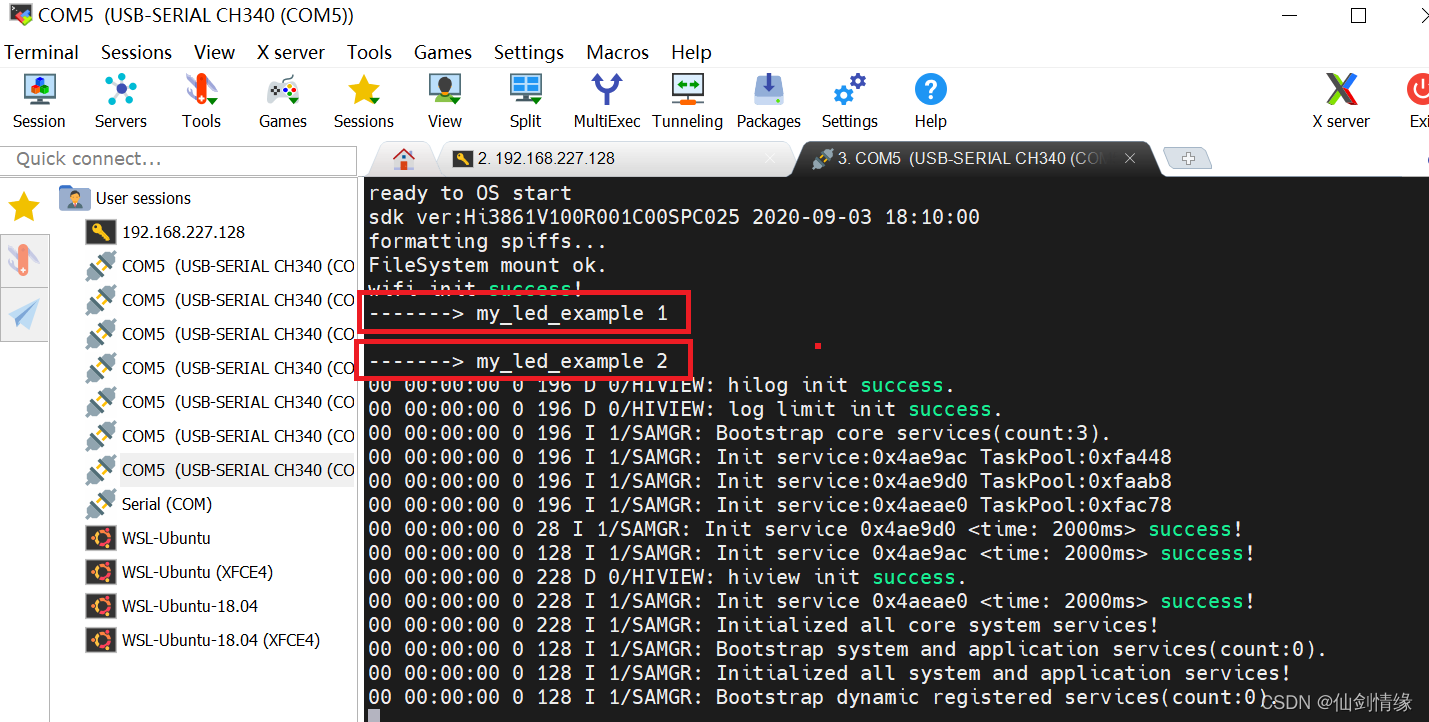
- 使用MobaXterm工具编译后并烧录代码到开发板,运行效果图

注册入口函数

- APP_FEATURE_INIT宏原型
#define APP_FEATURE_INIT(func) LAYER_INITCALL_DEF(func, app_feature, "app.feature")
- LAYER_INITCALL_DEF宏原型
// Default priority is 2, priority range is [0, 4]
#define LAYER_INITCALL_DEF(func, layer, clayer) \
    LAYER_INITCALL(func, layer, clayer, 2)
- LAYER_INITCALL宏原型
#define LAYER_INITCALL(func, layer, clayer, priority)            \
    static const InitCall USED_ATTR __zinitcall_##layer##_##func \
        __attribute__((section(".zinitcall." clayer #priority ".init"))) = func
- InitCall定义原型
typedef void (*InitCall)(void);
- USED_ATTR 宏定义原型
#define USED_ATTR __attribute__((used))
-那么APP_FEATURE_INIT(my_led_example)宏依次展开如下
- APP_FEATURE_INIT(my_led_example)
LAYER_INITCALL_DEF(my_led_example, app_feature, "app.feature")
LAYER_INITCALL(my_led_example, app_feature, "app.feature", 2)
static const InitCall USED_ATTR __zinitcall_app_feature_my_led_example \
        __attribute__((section(".zinitcall.app_feature2 .init"))) = my_led_example